As Debugging Tool
One useful usage of USART is in debugging. But inserting code that print debugging message, we can always know what is the value of variable, which part of the code MCU is running. Sometimes, it is more efficient by looking at the debug message instead of stepping through the program.The down side of this is that a dedicated buffer has to be allocated to keep the debugging buffer(as sending USART speed is slow).
Physical Connection
USB To Serial Port < --> Max232 <--> USART/UART
In this tutorial, we will be looking at enabling communication between STM32F030 with PC through RS232. We will be enabling USART1 on MCU part. To enable communication with PC, an additional voltage converter(MAX232 chipset) circuit is require as shown below: |
| RS232 Circuit |
Currently most of the PC/laptop no longer come with DB-9 Serial Port. And a replacement of this would be a USB to Serial converter as shown below:
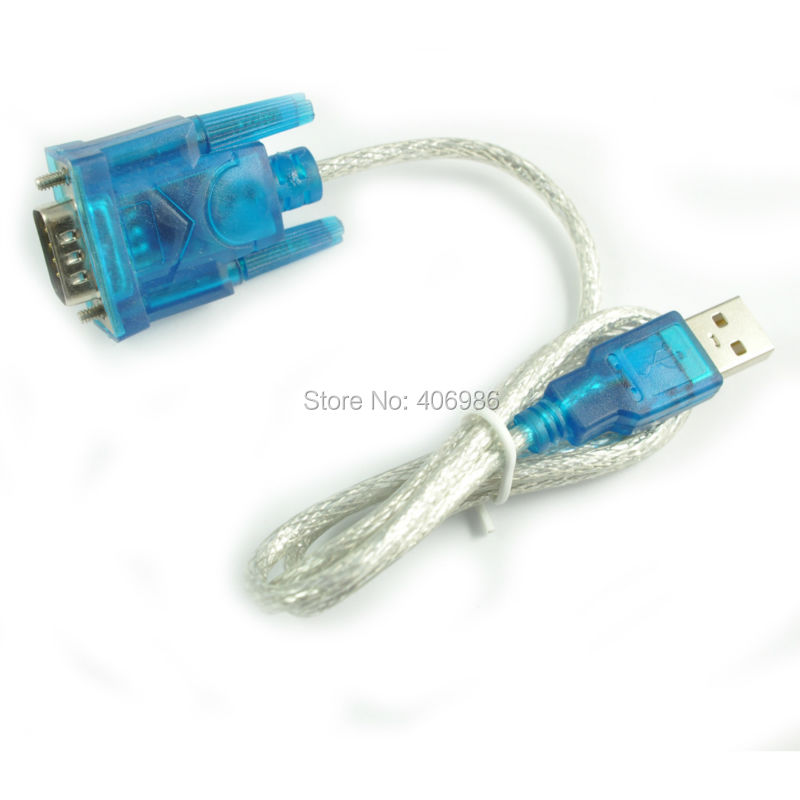 |
| USB to Serial Converter |
USB To TTL
The easiest converter to use is shown below, which enabling direct interface into STM32F030, without requiring MAX232 as shown below: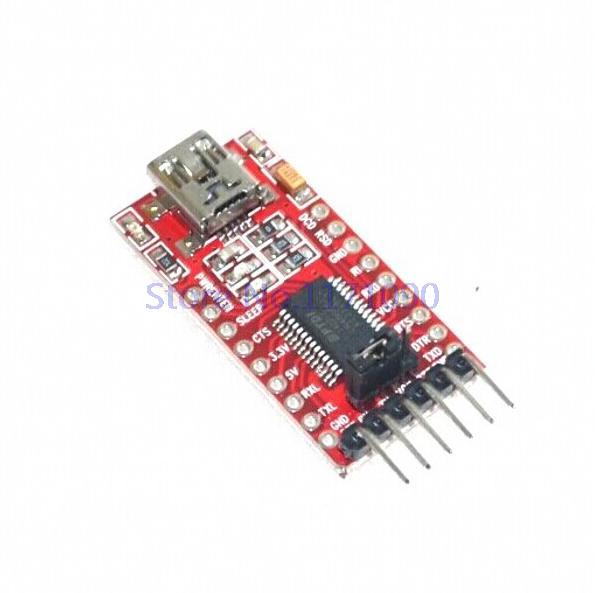 |
| USB to TTL Enabling direct connection to STM32F030 USART |
STM32F030 SFR Configurations
We will be using the following settings on STM32F030:- Baud Rate: 115200bps
- Data bits: 8
- Stop bits: 1
- Parity : None
- Handshake : None
As for the SFR section, it would be too lengthy to go through each of the register. I have heavily comment on the source code instead to provide explanation of each SFR. Refer here for the source code.
Source Code Explained
Below are the key actions implemented in source code to enable data transmission.1. SFR configurations
- Enable GPIO block that contain USART TX/RX pn
- Configure TX/RX pin to use as USART (so that is will not use as general purpose input/output)
- Enable USART block
- USART settings (baud rate, data bits, stop bits, parity, handshake)
- Enable USART function, and transmit, receive function
- Putting first byte into transmit buffer
- Waiting first byte transmit complete
- Putting subsequenct byte into transmit buffer and wait until byte is transmit out. Repeating this until all bytes has been transmit
Below is the image of my connection, using an USB to TTL device, directly connect to STM32
- White cable: 3V
- Blue cable: GND
- Grey cable: PA9, USART_TX
- Purple cable: PA10:USART_RX
 |
| Physical Connection |
Source Code Implementation
The above source code is implementing a blocking transmit. Which means that the MCU will be waiting(a while loop) when current chracter being transmit out. Thus when sending full length of 'Hello World!', no other process can be executed (except ISR). This is inefficient but this is the simpliest way to ensure character transmitting is working.Apart from blocking transmit, we can also perform USART transmit using:
- Interrupt: allow interrupt occur when current data has been transfer to transmit buffer(it would take some time to transmit out), so we can load next data into TDR. This is better than blocking, but still require ISR code to loadbuffer into TDR
- DMA: enabling DMA auto transfer when current data has been transfer to transmit buffer. This is the most efficient method, but also more complex as it involve interrupt + DMA control.
Lastly, I attached a short video on my capture on data transmit from STM32 on this tutorial.
No comments:
Post a Comment